



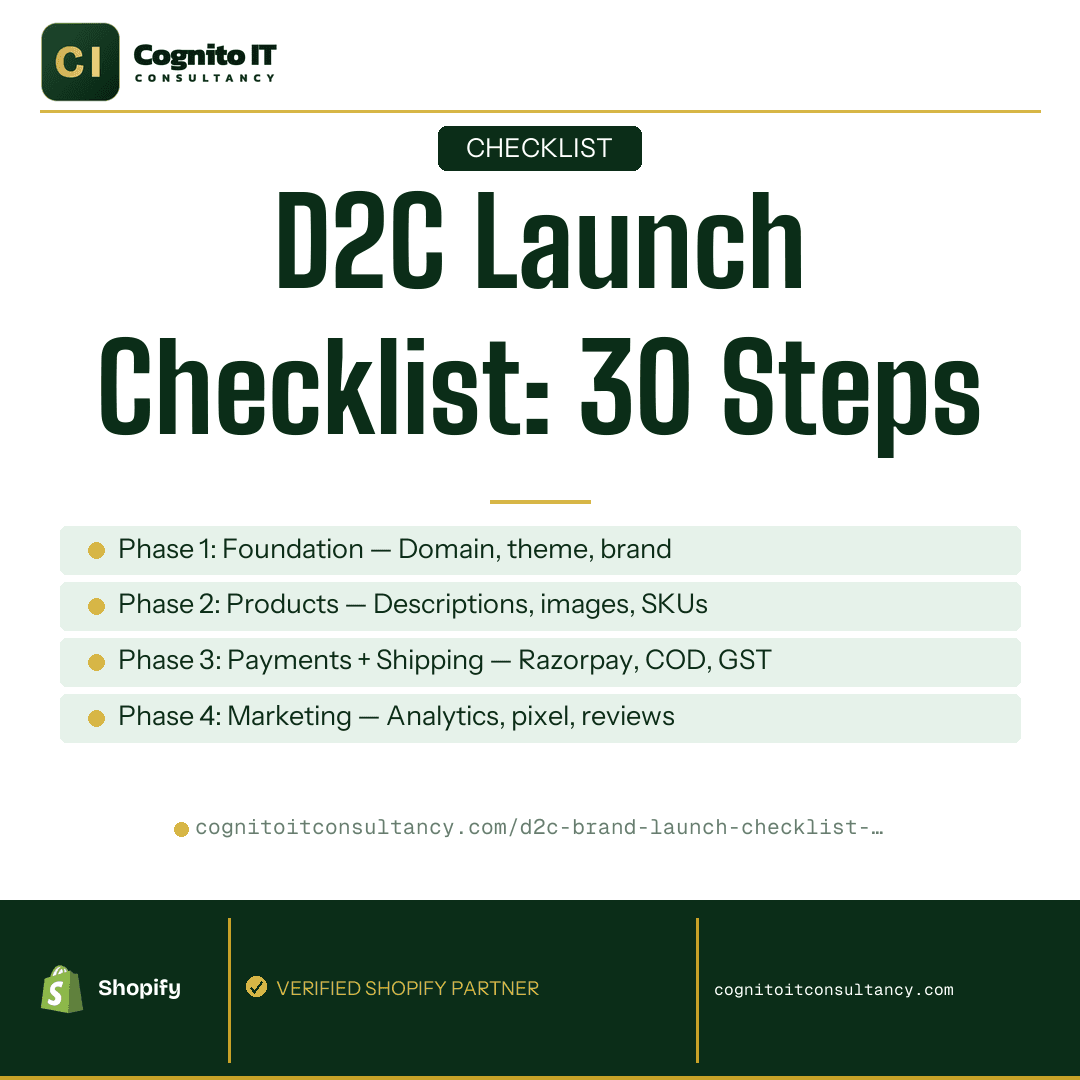
D2C brand launch checklist: 30 steps to go live on Shopify
Last month, a founder in Pune called me in a panic at 11 PM. She’d spent three months building her skincare brand. Beautiful products, great packaging, ₹4 lakh invested in inventory. Her Shopify store had been “ready” for two weeks. But she couldn’t bring herself to hit publish.
“What if I forgot something? What if payments don’t work? What if my first customer has a terrible experience?”
I get it. Launching a D2C brand on Shopify India feels like jumping out of a plane and hoping you packed the parachute correctly. There’s no “undo” button once real customers start showing up.
This is the 30-step checklist I wish I’d had when I started helping Indian brands launch their Shopify stores six years ago. It’s the same process we run at Cognito IT Consultancy before we let any client go live. Some steps take five minutes. Others take a full day. Skip any of them, and you’re gambling with your launch.
This checklist is for Indian D2C brands, not generic advice that assumes you’re selling in USD with Stripe. We’re talking Razorpay, COD verification, GST invoicing, Shiprocket integration, the works.
Phase 1: Foundation (Steps 1-8)
Get the foundation right before you think about products. Everyone rushes past this phase, which is exactly why so many stores launch with broken basics.
Step 1: Secure your domain name
Buy your domain before you do anything else. Seriously. I’ve seen founders build entire brands around a name, only to discover someone else owns the .com and wants ₹2 lakh for it.
Buy from GoDaddy, Namecheap, or Google Domains. If your exact brand name isn’t available as a .com, consider .in or .co. The .com is worth fighting for if you plan to scale. Budget ₹800-1,500/year.
Step 2: Create your Shopify account
Start with the Shopify free trial. You get 3 days free, then it’s ₹1 for your first month. Don’t commit to an annual plan until you’ve launched and validated demand. The Basic plan at ₹1,994/month is enough for 90% of new D2C brands.
One thing people miss: set your store timezone to IST and currency to INR immediately. You don’t want your analytics showing weird timestamps later.
Step 3: Choose your theme (and stop overthinking this)
Most founders spend way too long on theme selection. Unless you’re doing something genuinely unusual, like a 3D product configurator, just pick Dawn (Shopify’s free default theme) or Prestige if you want something more premium.
Dawn is fast, mobile-optimised, and does everything a new D2C brand needs. You can always upgrade to a ₹15,000 premium theme once you’re doing ₹5 lakh/month and know what features you actually need.
For more on this, check out our Shopify store design tips. We’ve got specific recommendations by product type.
Step 4: Set up brand colors, fonts, and logo
Upload your logo in PNG format with a transparent background. Set your primary and secondary brand colours in the theme editor. These apply across buttons, links, and headers.
For fonts, stick to two: one for headings, one for body text. System fonts load faster than custom fonts, but if you must use a custom font, make sure it supports Indian numerals properly.
Step 5: Build your navigation
Your main menu should have 5-7 items. For most D2C brands at launch, this works:
- Shop (dropdown with collections)
- About Us
- Contact
- Track Order
Don’t add a blog link to your main nav until you actually have blog content. Nothing signals “this brand just started” like clicking on Blog and seeing zero posts.
Step 6: Create essential pages
Four pages have to be live before you launch.
Your About Us page should tell your brand story. Why did you start this? What problem are you solving? Include a founder photo if you’re comfortable. It builds trust faster than almost anything else for a new brand.
Your Contact Us page needs a phone number, email, WhatsApp link, and a contact form. If you have a physical address, include it. It’s required for GST anyway.
Your Shipping Policy should be specific. “Ships within 3-5 business days” is vague. “Orders placed before 2 PM ship same day via Delhivery. Delivery takes 3-5 days for Tier 1 cities, 5-7 days for Tier 2/3” is what customers want to know.
Your Return & Refund Policy should be written in plain Hindi-English, not legalese. “If you don’t love it, return it within 7 days. We’ll pick it up free and refund within 5 days of receiving it.” Clear policies cut customer service headaches by about 50%.
Step 7: Verify SSL certificate
Shopify provides free SSL automatically, but I’ve seen stores where it didn’t activate properly. Visit your store URL and check for the padlock icon. If it’s not there, contact Shopify support before launch. No customer will enter payment details on an unsecured site.
Step 8: Connect your custom domain
Go to Settings → Domains → Connect existing domain. You’ll need to update DNS records at your domain registrar. Shopify walks you through this, but it can take up to 48 hours to propagate. Do this at least 3 days before your planned launch date.
Phase 2: Products (Steps 9-14)
Product pages do the job of a salesperson. They need to answer every question a customer might have without the customer having to ask.
Step 9: Write product titles that work
Your product title should include what it is, the differentiator, and the size/variant if relevant.
Bad: “Face Serum”
Good: “Vitamin C Brightening Face Serum, 30ml”
Bad: “T-shirt”
Good: “Men’s Oversized Cotton T-Shirt, Sage Green”
Keep titles under 70 characters so they don’t get cut off in Google search results.
Step 10: Write benefit-first descriptions
The rule I give every client: features tell, benefits sell.
Don’t start with ingredients or materials. Start with what the customer gets. “Wake up with visibly brighter skin” hits harder than “Contains 15% Vitamin C and Hyaluronic Acid.”
Structure your descriptions like this:
- Opening line with the main benefit
- Two or three bullet points with secondary benefits
- How to use (if applicable)
- Ingredients or materials
- What’s in the box
We’ve written about this in detail in our CRO strategies guide. Product descriptions alone can lift conversions by 15-20%.
Step 11: Upload high-quality product images
Minimum requirements:
- 5+ images per product (hero shot, detail shots, scale shot with hand/person, packaging, lifestyle shot)
- White or neutral background for at least 3 images
- 1:1 square ratio, minimum 1000×1000 pixels
- Compressed to under 200KB each using TinyPNG or ShortPixel
If you’re selling apparel, you need model shots. Flat-lay photos don’t convert. A fashion brand in Jaipur doubled their conversion rate just by switching from flat-lays to model photos. Same products, same prices, same everything else.
Step 12: Set up variants, inventory, and SKUs
For each product variant (size, colour, etc.), set:
- Individual SKU codes (use a logical system like BRAND-CATEGORY-PRODUCT-VARIANT, e.g., ABC-TEE-SAGE-L)
- Accurate inventory counts
- Enable “Track quantity” if you don’t want to oversell
- “Continue selling when out of stock” only if you can actually fulfil backorders
Inventory management headaches on day one will kill your momentum faster than anything else.
Step 13: Create logical collections
Collections are how customers browse. Create collections based on:
- Product type (Serums, Moisturisers, Cleansers)
- Concern or use case (For Dry Skin, For Acne)
- Price point (Under ₹500, Premium Range)
- New Arrivals and Best Sellers (even if you’re guessing at launch)
Use automated collections with conditions rather than manually adding products. It scales better as you add inventory.
Step 14: Add metafields for extra information
Metafields let you add structured data that your theme can display: ingredients lists, care instructions, warranty info, etc. Setting these up now means you won’t have to retrofit 200 products later.
For technical guidance, our Shopify API integration guide covers metafield automation.
Phase 3: Payments and shipping (Steps 15-20)
Indian D2C stores have payment and shipping requirements that most international Shopify guides skip entirely. COD, UPI, GST invoicing, and Tier 2/3 shipping coverage are not optional.
Step 15: Set up Razorpay payment gateway
Razorpay is the standard for Shopify India. It handles UPI, credit/debit cards, net banking, wallets, and EMI options — all the payment methods Indian customers actually use.
The integration takes about 15 minutes if your documents are ready, but KYC verification can take 2-5 business days. Start this process early.
We’ve got a complete Razorpay on Shopify guide that covers every step, including common approval issues.
Step 16: Enable COD with auto-confirmation
Cash on Delivery is something you need, but it also needs guardrails against fraudulent orders.
Set up COD through Razorpay or a dedicated app like COD Confirm. The part most people skip is automated order confirmation via WhatsApp or SMS. Ask customers to confirm their order and auto-cancel if they don’t respond within 4-6 hours. That alone can reduce RTO (return to origin) rates by 30-40%.
Some brands charge a small COD fee (₹30-50) to discourage non-serious orders. It works, but test it with your audience.
Step 17: Set up GST invoicing
If you’re GST registered (and you should be at ₹20 lakh+ turnover), you need proper invoices on every order.
Apps like Invoice Falcon or Sufio generate GST-compliant invoices automatically. Make sure your invoices include:
- Your GSTIN
- Customer GSTIN (if B2B)
- HSN codes for each product
- Breakup of CGST, SGST, or IGST
- SAC code for shipping
Step 18: Connect Shiprocket (or your fulfillment partner)
Shiprocket aggregates multiple courier partners: Delhivery, BlueDart, Ecom Express, DTDC. It auto-selects the best one based on cost and delivery time for each pincode.
Install the Shiprocket app, connect your Shopify store, and map your pickup address. Test the integration with a dummy order before you go live.
Set up pickup schedules in advance. If you’re shipping from home initially, make sure pickup times work with your actual availability.
Step 19: Configure shipping zones and rates
Go to Settings → Shipping and delivery. Create shipping rates that make sense for your margins.
Free shipping over a threshold works well for average order value. ₹499 or ₹999 are common thresholds depending on your product prices.
Flat rate shipping is easy for customers to understand. ₹49-99 is acceptable for most categories.
Weight-based shipping is necessary if you sell products with very different weights.
Restrict zones if you can’t ship to certain areas. Some courier partners struggle with remote pincodes in J&K, Northeast, or island territories.
Step 20: Double-check tax settings
Shopify’s tax settings for India should automatically calculate GST based on product category. Verify by:
- Going to Settings → Taxes and duties
- Confirming India is set up correctly
- Checking that your products have the right tax rates assigned
If you’re selling tax-exempt products or have complex B2B requirements, this might need custom configuration.
Phase 4: Marketing and conversion (Steps 21-26)
A functional store is not a profitable one. These six steps set up the marketing infrastructure you’ll need from day one.
Step 21: Configure abandoned cart recovery
Shopify has built-in abandoned checkout emails, but they’re basic. At minimum, turn them on in Settings → Checkout → Abandoned checkouts.
For better results, use a dedicated app that sends multi-step sequences with WhatsApp follow-ups. Abandoned cart recovery typically brings back 5-15% of lost carts. On a store doing ₹10 lakh/month, that’s ₹50,000-1.5 lakh recovered without any manual effort.
Step 22: Set up email marketing
Shopify Email works for basic needs. Klaviyo is better if you want advanced segmentation and flows. Mailchimp sits somewhere in between.
Before launch, set up these automated flows:
A welcome series of 3-4 emails introducing your brand to new subscribers.
Post-purchase emails covering your thank you message, delivery updates, and review request.
Abandoned cart sequences as covered above.
Win-back campaigns to re-engage customers who haven’t purchased in 60-90 days.
Step 23: Add WhatsApp chat
Indian customers prefer WhatsApp over email for support, by a wide margin. Install a WhatsApp chat widget (DelightChat, Interakt, or even a simple click-to-chat button).
Make sure someone is actually available to respond during business hours. An unanswered chat widget is worse than no chat widget at all.
Step 24: Install Google Analytics 4 and Google Tag Manager
GA4 tells you where your traffic comes from and how it converts. GTM makes it easier to manage multiple tracking scripts without touching code.
Steps:
- Create a GA4 property in Google Analytics
- Create a GTM container
- Install the GTM snippet in your Shopify theme (Online Store → Themes → Edit Code → theme.liquid)
- Configure GA4 through GTM
- Enable enhanced e-commerce tracking
This is one of the steps we end up doing for almost every client because it’s easy to get wrong.
Step 25: Set up Facebook pixel
Even if you’re not planning to run Facebook/Instagram ads right away, install the pixel now. It starts collecting data from day one, which makes your future campaigns more effective.
Go to Settings → Customer events → Add custom pixel, or use the Facebook & Instagram app for a guided setup. Verify that PageView, ViewContent, AddToCart, and Purchase events are firing correctly using Facebook’s Pixel Helper browser extension.
Step 26: Install a product reviews app
New customers won’t trust a brand they’ve never heard of without reviews from people who’ve actually bought something.
Judge.me (free tier available) or Loox (if you want photo reviews) are the most popular options. Enable automated review request emails 7-10 days after delivery.
If you’re launching with zero reviews, seed them from beta testers, friends, or family who’ve tried your products, or offer an incentive for early reviewers.
Phase 5: Pre-launch testing (Steps 27-30)
Don’t skip this phase. I’ve seen too many stores launch with broken checkouts, missing emails, or payment failures.
Step 27: Place a real ₹1 test order
Create a product priced at ₹1 (or use Shopify’s Bogus Gateway for testing). Complete the entire checkout process as a real customer:
- Add to cart
- Apply a discount code
- Enter shipping address
- Select shipping method
- Complete payment
- Check order confirmation page
Then go into your Shopify admin and verify the order appears correctly, with the right shipping method and tax calculation.
Step 28: Test on both iOS and Android
Over 85% of Indian e-commerce happens on mobile. Open your store on an actual iPhone and an actual Android phone, not just desktop browser simulation.
Check:
- Do images load quickly?
- Is text readable without zooming?
- Can you complete checkout without horizontal scrolling?
- Do sticky add-to-cart buttons work?
- Does the WhatsApp chat button appear correctly?
Step 29: Verify all transactional emails
Go to Settings → Notifications and send test emails for:
- Order confirmation
- Shipping confirmation
- Delivery confirmation
- Abandoned checkout
- Customer account welcome
- Password reset
Check that your logo appears, links work, and the tone matches your brand. Shopify’s default emails are functional but generic. Customise them if you have time.
Step 30: Submit sitemap to Google Search Console
Your sitemap is at yourdomain.com/sitemap.xml. Submit it to Google Search Console so Google starts indexing your pages immediately.
Also verify your domain ownership in Search Console. You’ll need this for tracking search performance later.
Launch day: what to actually do
You’ve completed all 30 steps. Remove password protection from your store (Online Store → Preferences → Disable password).
Then:
- Post on your social channels that you’re live
- Send your launch email to your list (even if it’s just 100 people)
- Share your WhatsApp status
- Ask 10 friends to visit and browse (don’t ask them to buy, just check that everything loads)
- Watch your first few orders come in, and personally verify each one is processed correctly
Don’t run paid ads on day one. Wait until you’ve handled 10-20 orders organically and confirmed your fulfillment process works smoothly.
Your first 30 days post-launch
The launch is where the real work starts.
Week 1: fix what’s broken. Watch session recordings (install Hotjar or Lucky Orange), read every customer support message, and fix any UX issues you missed.
Week 2: collect reviews. Follow up with every customer who’s received their order. Offer a small incentive for photo reviews.
Week 3: analyse your data. What’s your cart abandonment rate? Where are people dropping off? What products are getting views but not purchases?
Week 4: test paid acquisition. Run small Instagram or Google Shopping campaigns (₹500-1000/day). Measure cost per acquisition against your margins. Scale what works.
Most D2C brands launch unprepared and spend the first month firefighting. If you’ve done all 30 steps, you’re not in that group.
Sound like a lot to handle alone? That’s fair.